This post may contain affiliate links*
Could our mast fall down?!? How tight should the mast be anyway?
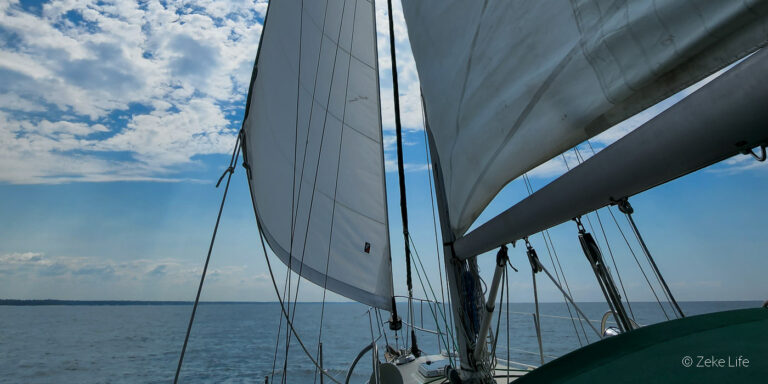
These are some of the questions that sailors at one point or another ask themselves or each other to prevent disasters from occurring on the water. You can read about our process for tightening the mast before we took SV Zeke E Boy sailing on Lake Michigan below.
Wait, the mast is leaning
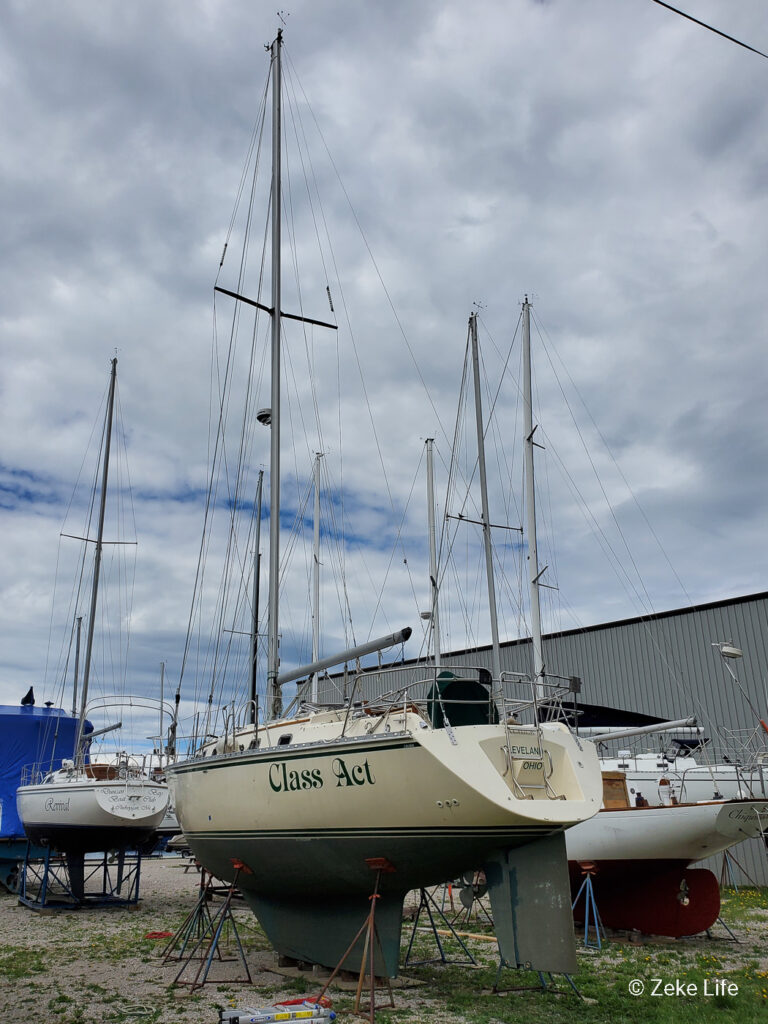
Before we bought our boat and were going through the various systems and items to determine if this was the boat for us, I noticed that the mast was not straight! By looking up the mainsail groove I could see the mast bent to port (to the left) as it went up. Well, that got me thinking and working on a plan for the tuning solution. So, here’s what I did to straighten it out.
Knowing our boat’s design
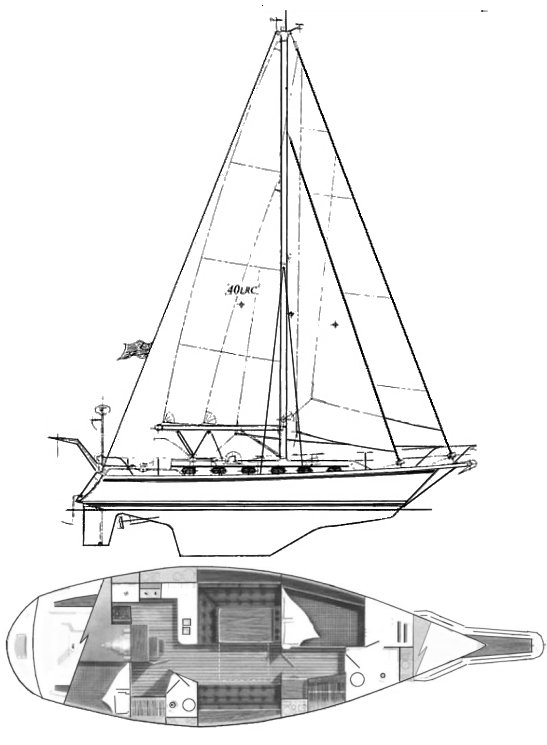
First item to note: Our rig is a keel-stepped mast, which means the mast goes through a matching hole in the deck and lands inside the boat directly above the keel deep in the bilge of the boat. We are a masthead rig, with a jib and main all the way to the top of the mast and two permanent backstays. We also have a small stay sail which then makes our sail plan a cutter rig. We have one set of spreaders halfway up the mast. It sounds more complicated than it really is, but there are many other sailboat designs out there and each has its own details to learn.
DIY or Hire out?
The whole process in this article would be categorized as ‘tuning the rig’. A loose and bent mast is very dangerous and at risk to come toppling down potentially hurting people and doing lots of damage in the process. Many sailors hire this process out and leave it to the professionals to do. While I am not a professional rigger, I really enjoy the process and have done this many times on other boats. So, I do feel comfortable tackling the tuning process on SV Zeke E Boy – plus I have my dad with more experience than me to “phone a friend” and bounce things off of.
Get the right tools
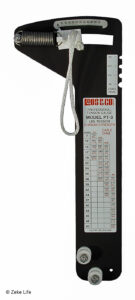
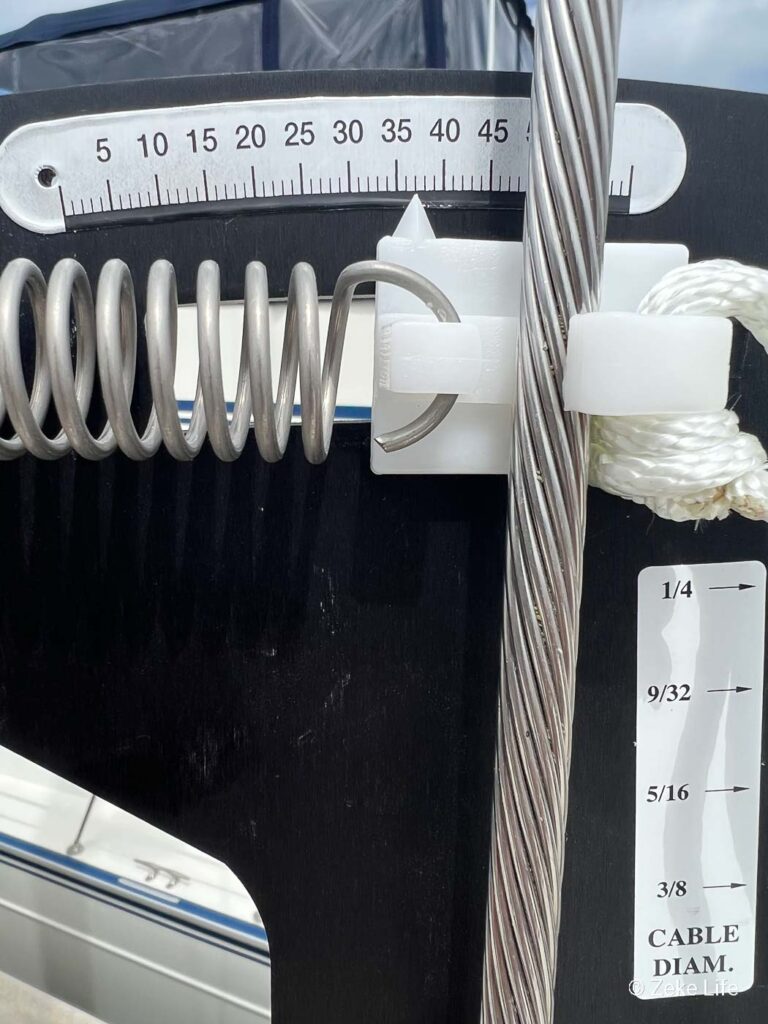
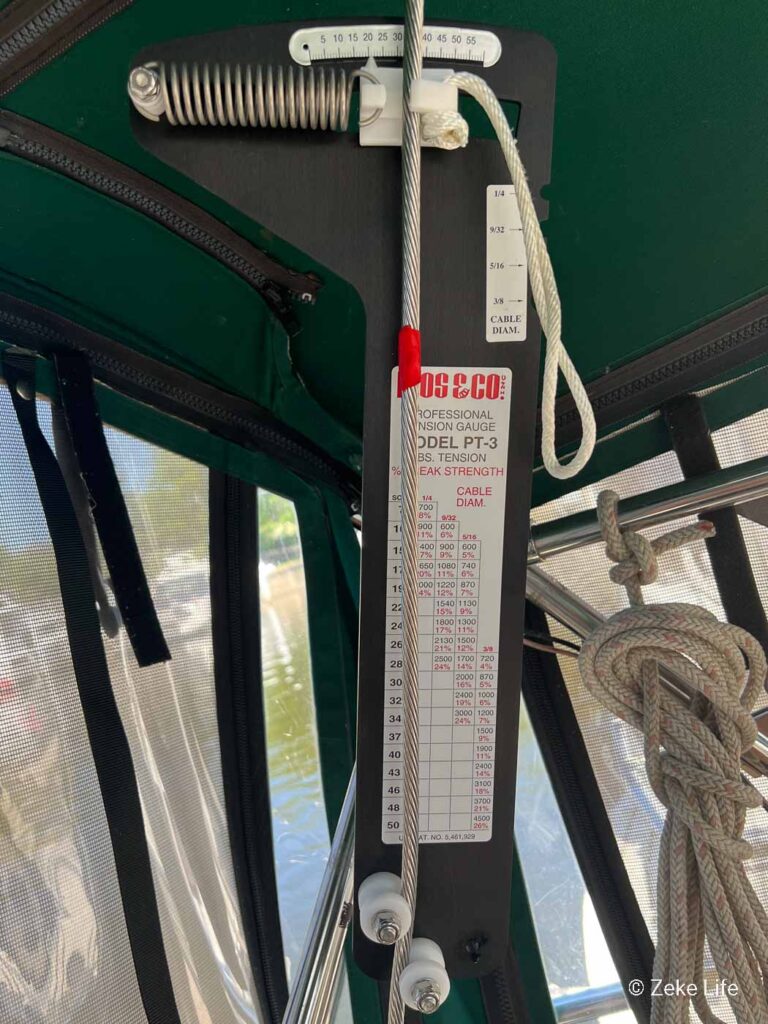
A critical tool is a loos gauge that measures the tension of our stays and shrouds (the wire that holds the mast up from each side). We have 3 different sizes on our boat, ⅜”, 5/16” and ¼” of the 1×19 stainless steel rigging. We used the Loos & Co. PT-3 model that matches our wire sizes.
Other tools that I used for this process include:
Break it down
I split the tuning process into 3 steps:
- Set the rake, how far the mast is leaning aft (toward the stern)
- Set the top of the mast to center
- Add in the prebend with the baby stays.
Step 1
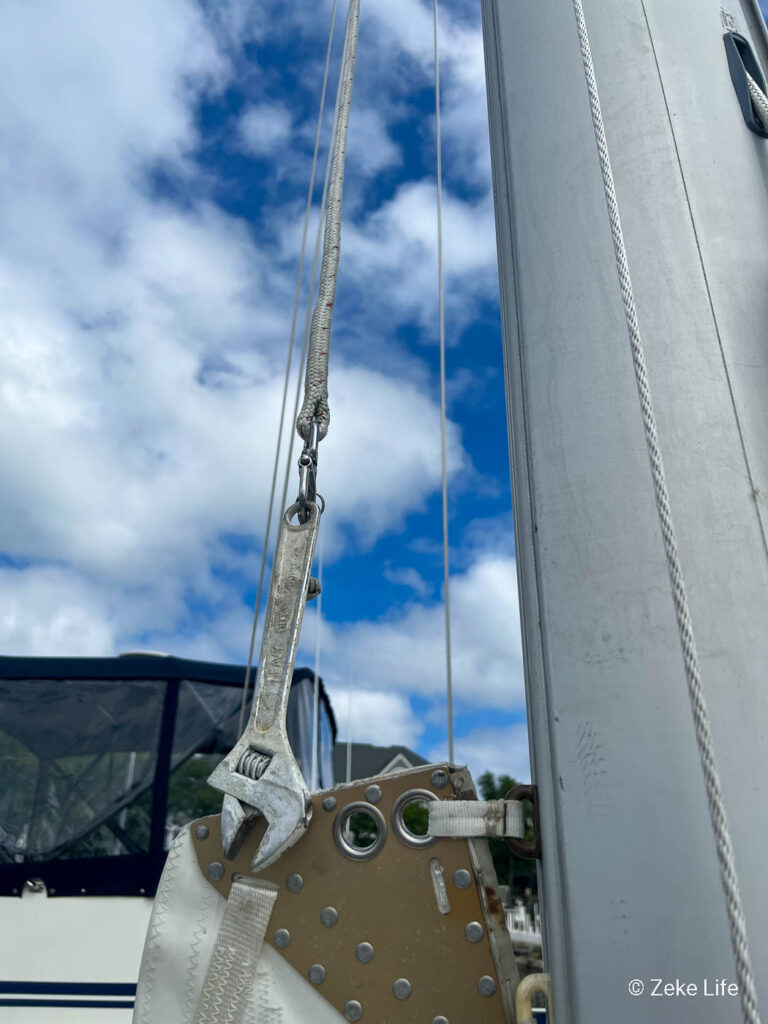
Our rig by design needs to be raked aft about 6 – 9”. I measured this by adding a heavy wrench to the main halyard and seeing how far the halyard balanced aft. We were within the 6 – 9″ range on the rake so I left this alone. Then I took a 100’ metal tape measure and attached it to the main halyard as well as a following line, just in case the tape broke, I could still pull the main halyard back down. Losing the main halyard to the top of the mast would be a whole new unnecessary problem, and those unnecessary problems always seem to occur causing one project to lead to another … I did not want that.
Just as I suspected
I found a spot perpendicular to the mast on both the port (left) and starboard (right) rail as my point of reference to measure. I then raised the tape up the mast about 75% and locked in the halyard cleat and measured each point of reference. It was as I suspected, the top of the mast was 2” to the port. I needed to move the top of the mast 1” to the starboard to center the top.
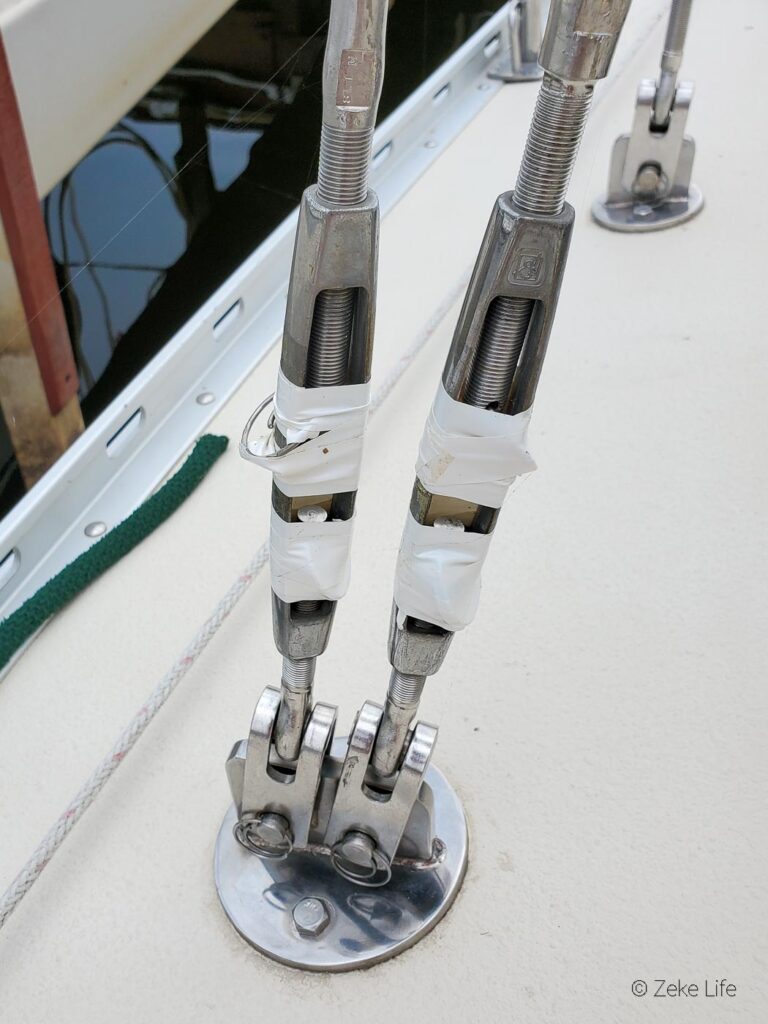
What’s a turnbuckle?
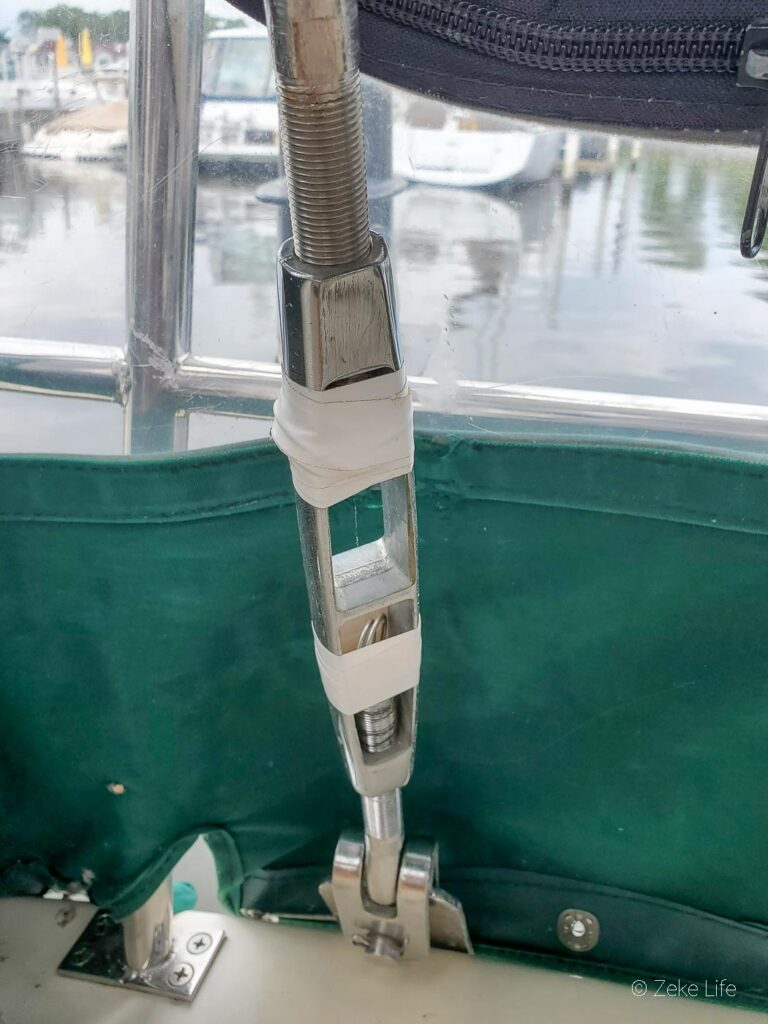
I loosened all the lower shrouds a few turns on each turnbuckle. A turnbuckle is a common rigging device that is used to adjust tension and reduce slack on the shrouds. It is important to note that with one wrench I would hold the top of the stud static and then with another wrench turn the turnbuckle as needed, I didn’t want to twist the wire/stud and damage the fitting.
After several iterations of tightening and loosening the upper shrouds I was able to center the top of the mast. My next step was to tighten up the back stays to match each other and add in the tension. I chose to shoot for 10% of breaking strength on our backstay, and the loos gauge provides the readings to guide me in this process. It feels very tight but a tight rig is much safer as the mast should not be able to move much.
Step 2
Now the top of the mast is raked about 6” to aft and the top is centered port to starboard. I added in the tension to the upper shrouds, again my choice was 10%. Some manuals say more or less, and because I don’t have the original specifications to help me, I had to compile some other guides to give me a reasonable conclusion that this method should match properly. This again took several iterations.
Step 3
At this point the mast is raked, centered and the upper shrouds are tensioned along with the backstays. Onto the lower (baby) stays, one is slightly forward and one is slightly aft on each side of the boat. I loosened the aft baby stays until barely hand tight. I sighted up the mainsail groove on the mast and was able to clearly see the mast was now bending the opposite direction. I wanted the bend to occur at the top of the mast so I needed to adjust the middle of the mast with the baby stays to straighten it out. I used the forward baby stays to straighten out the mast and added matching tension to each with the goal of 9%. The upper shrouds are tightest, followed by the lower forward shrouds, and finally the lower aft.
Almost done
We’re getting closer! With the mast noticeable straight and the lower forward stays tensioned to my goal, I had achieved about 1.5” of prebend in the center of the mast. For our rig, this is important. Pre-bend helps to prevent the mast from inverting or what we call “pumping” when under way. I added tension to the lower aft stays to 7%.
I’m really close to being done now. Because we have a cutter rig, there are two more lower aft shrouds that meet up at the top of the stay sail fore-stay. So the last item is to add tension to them. I only added about 6% tension for these since they are only loaded when the stay sail is flying.
Done, Now what?!?
Time to go sailing! Well, before that, I added a retaining ring to the end of each turnbuckle, 40 total rings, and taped each ring to protect from snagging anything on them. Now we are done!
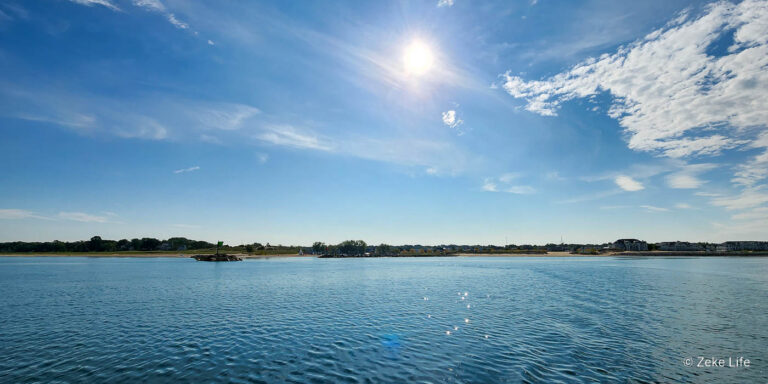
It was dead calm in the marina the day that I accomplished this project. The sun beating down and temperatures near 90 degrees, so a cold beverage and a dip in the marina pool was definitely in order after hours of completing a project successfully! Job well done indeed. 💪👍
Tell us what you think
Please leave comments on your thoughts / recommendations to tuning a mast and tensioning the rigging. We’d love to hear your process because there’s always room for us to improve!
– Kyle from Zeke Life
Live like Zeke
You’re such a good boy!