This post may contain affiliate links*
What project should we tackle first?
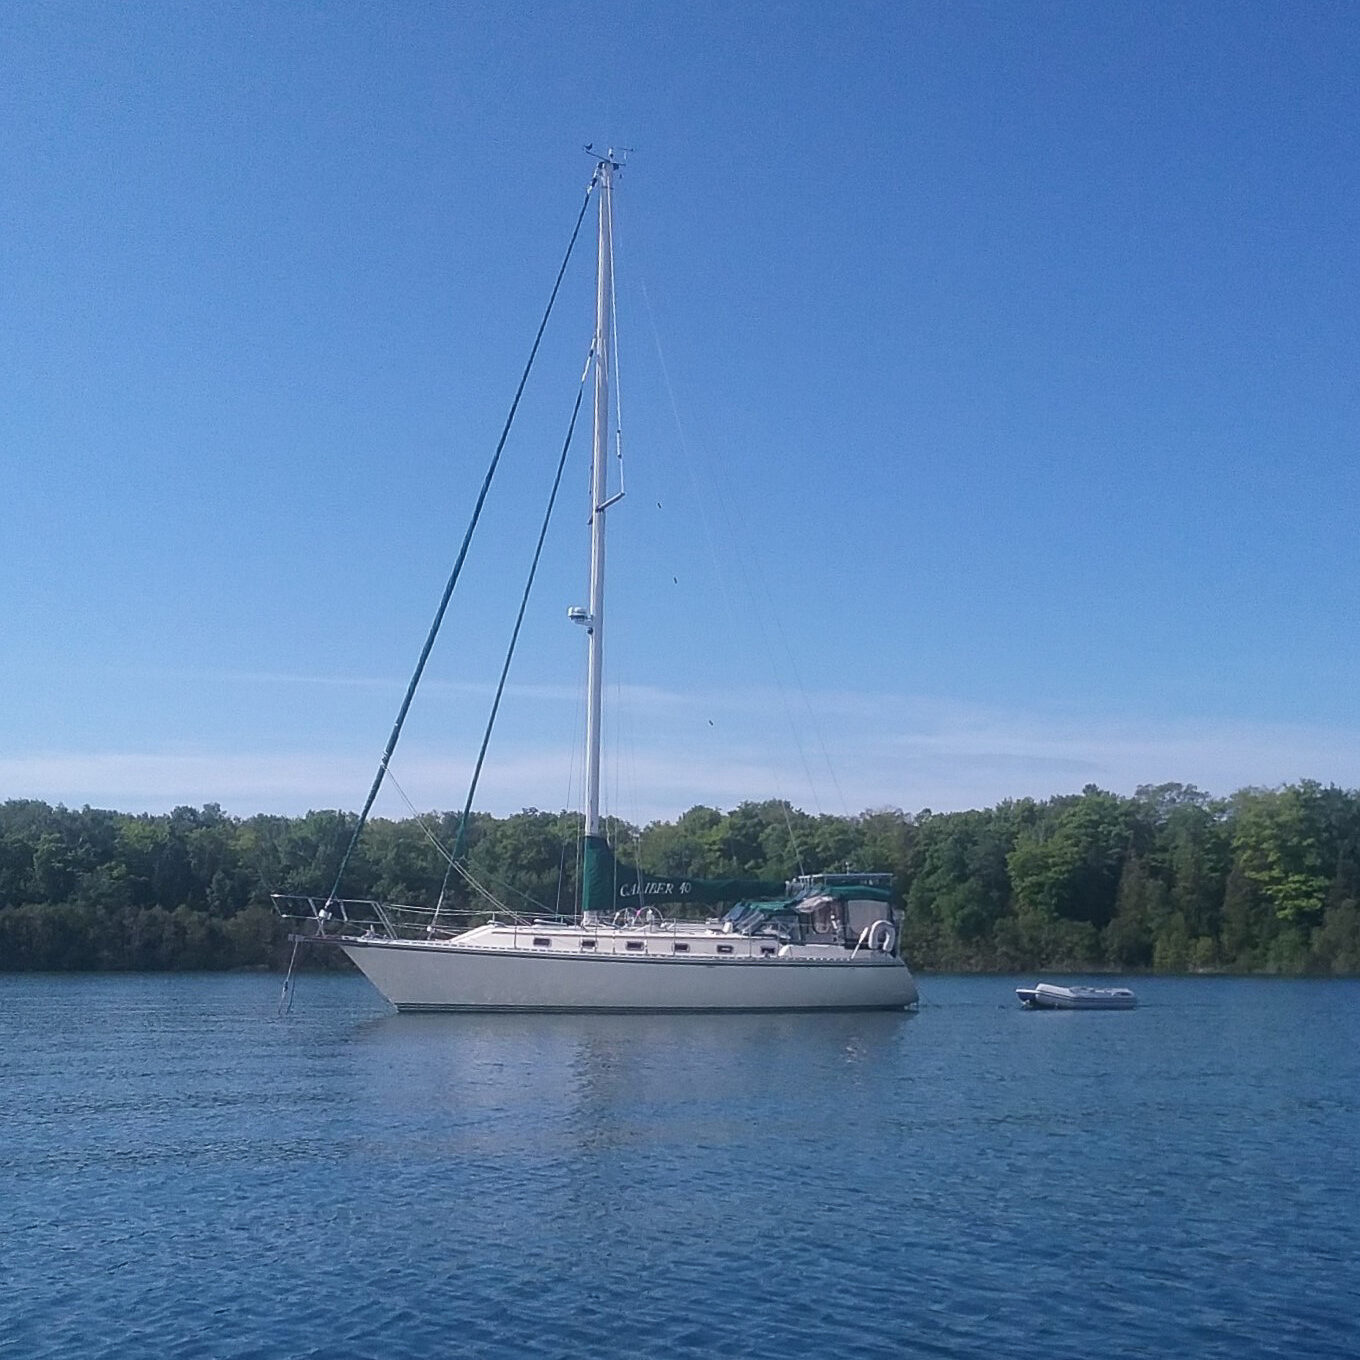
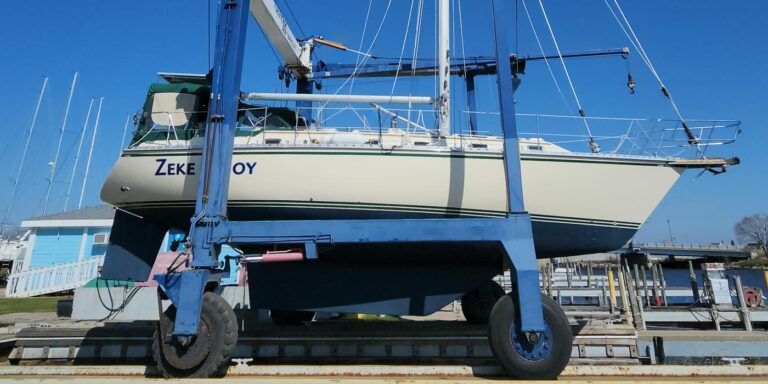
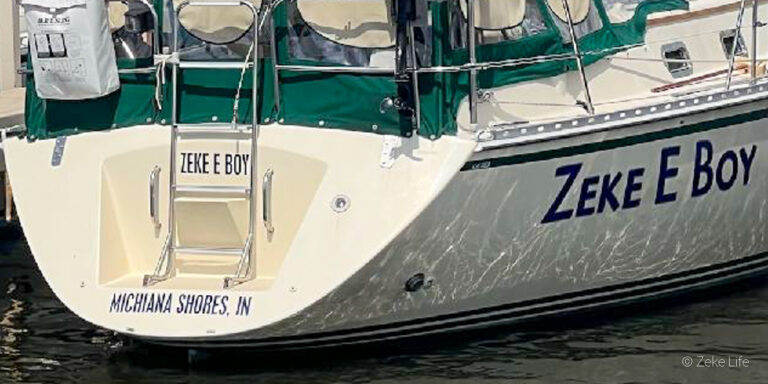
Boat projects are one of those bountiful expanses of all consuming thought, resources, time and energy – especially to me and my character. But sometimes a project becomes more important than all others. Last fall we purchased SV Zeke E Boy, a 1996 Caliber 40 LRC sailboat. One item of note is that we have two fuel tanks, which totals over 200 gallons of diesel – if we needed. We could sail across the ocean (if we weren’t so scared to leave our own dock right now)!
Kindly, the previous owner filled one of the tanks right before winter storage and the other has not been needed or used in sometime. So this spring when we commissioned the boat, we were blessed with 85 gallons of diesel just waiting to be used.
On our 350 mile trip home, we used the engine the whole time due to rather windy conditions, but at 0.5 – 0.85 gallons per hour of fuel consumption, we can go a very long distance without worrying about fuel. This is extremely beneficial – especially with the current prices of diesel + gas! It’s just one of the many benefits of owning a sailboat!!! The last day of our journey was dead calm (finally!) but 15 miles out on the water, the engine began “bogging”, meaning that throttle was set for 2,650 rpm, but would rev down to 2,000 rpm. It sounded like the engine was going to shut off … what would we do?!? This sinking feeling of losing the engine was uncomfortable, but we were on a sailboat after all, so we could sail it if absolutely necessary!
OK, Sherlock, what’s Wrong?
Well, we went through several investigation items trying to see if we could identify the issue. No leaks, no odd sounds, no smoke out the back, no water in the fuel separator – just an engine that sounded like it couldn’t pump enough fuel to hit the requested rpm. The fuel filters had the date 09-11-19 written on them . . . hmm, that screams a red flag to me. Bummer, I didn’t catch that earlier. Fuel filters need changed regularly – ideally every year but maybe even more if we run the engine many hours. Each engine has its own manufacturer’s recommendations, and I did not research (surprisingly!) our maintenance schedule for fuel filters yet (more on that in the future). We have a Yanmar 4JH2E, 50-hp basic diesel engine, actually very basic. It’s a workhorse that should hum along for many years to come if I can properly take care of it.
All this background to explain why our fuel filter change and polishing became priority #1 – of course, once we made it home safely.
What kind of filters do we have?
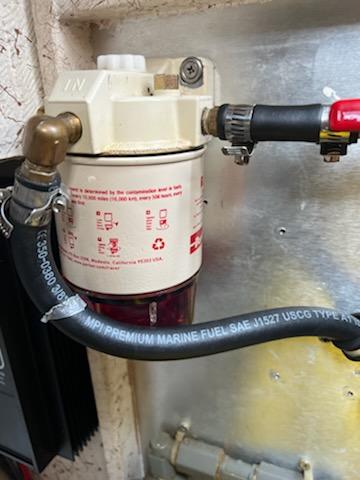
There are 3 filters in our fuel system: one on the engine and one fuel filter / water separator for each fuel tank (2 total). Since our tank #2 is not being used at the moment, I decided to leave that filter alone (and save the money for now).
After crawling around the “basement” of our boat (aka inside the lazarett locker), I specified what part numbers were currently installed on the boat. Then, I went online to research and confirm that they were correct for our engine and ordered them from Amazon. It only took a few days to get the parts delivered.
How do you change a diesel Fuel Filter?
Diesel engines REALLY don’t like air in the fuel system, that is critical to planning the filter change. I started with changing the fuel filter/water separator. First, I turned off all the fuel valves that I could to stop any flow of fuel in or out of the system once I opened it up. Then, I used a filter wrench to gently loosen and pull off the filter with a plastic container under it and absorbent pads to collect any dripping diesel and not spill fuel. Next, I removed the reusable water separator from the bottom of the old fuel filter and cleaned it up, there was some black sludge. Upon further inspection, the fuel filter was very dirty, which made me think we have found the issue!
The new fuel filter comes with new gaskets for the top and bottom. So I coated the new gaskets in a small amount of fuel to assist in lubrication as I was about to install the new filter. I started with the bottom fuel separator. The next step is awkward but absolutely critical. I filled the filter assembly with clean fuel to the very top, making sure not to spill and having a plastic container to catch any unexpected drips. Gently, I positioned the filter and installed the new filter back onto the assembly. Our filter has a finger pump and bleed valve on top to loosen and pump out air from the system which I then did, but I did not open any of the fuel valves yet. By design, this fuel filter/water separator is at the top of the fuel system, so air wants to rise to this point if there happens to be any in the system.
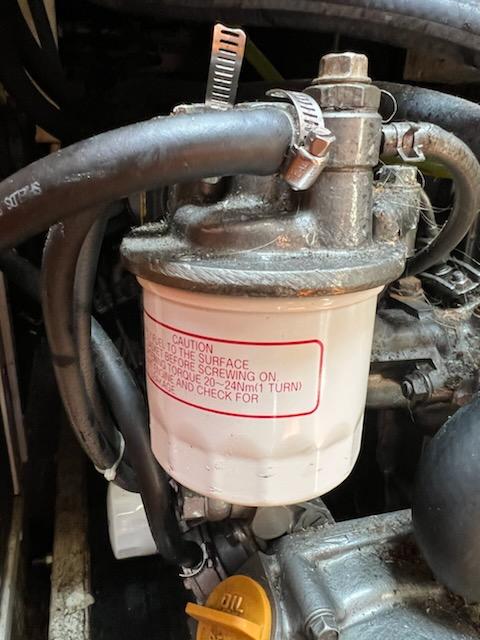
Next I moved on to changing the fuel filter on the engine. This filter looks like an oil filter and the process was very similar to the previous one above so I followed the same procedure. To bleed the system, our engine has a small finger pump on the side of the fuel pump and several bleed valves which I opened slightly and pumped until I saw no more air coming out. Due to the extreme care that I took during this process, I actually had very little air in the system at that point.
The last step was to open all the fuel valves I had closed at the beginning of the fuel filter change. Then I bled both the fuel filter/water separator again and was able to clear out some more air and noticeably only fuel would come out of the bleed valve. Once completed, I did the same again on the engine.
At this point, I considered the project complete with only documenting when and what I did in our log book with a few notes on struggles that I had with getting the filter wrench positioned properly and writing down the process again so I could review in the future. I also purchased an extra new set of filters to leave on the boat in case of emergency and we would need to change them out while on the water. I hope to never have to attempt that but we will be prepared and ready if needed.
Polishing Diesel Fuel
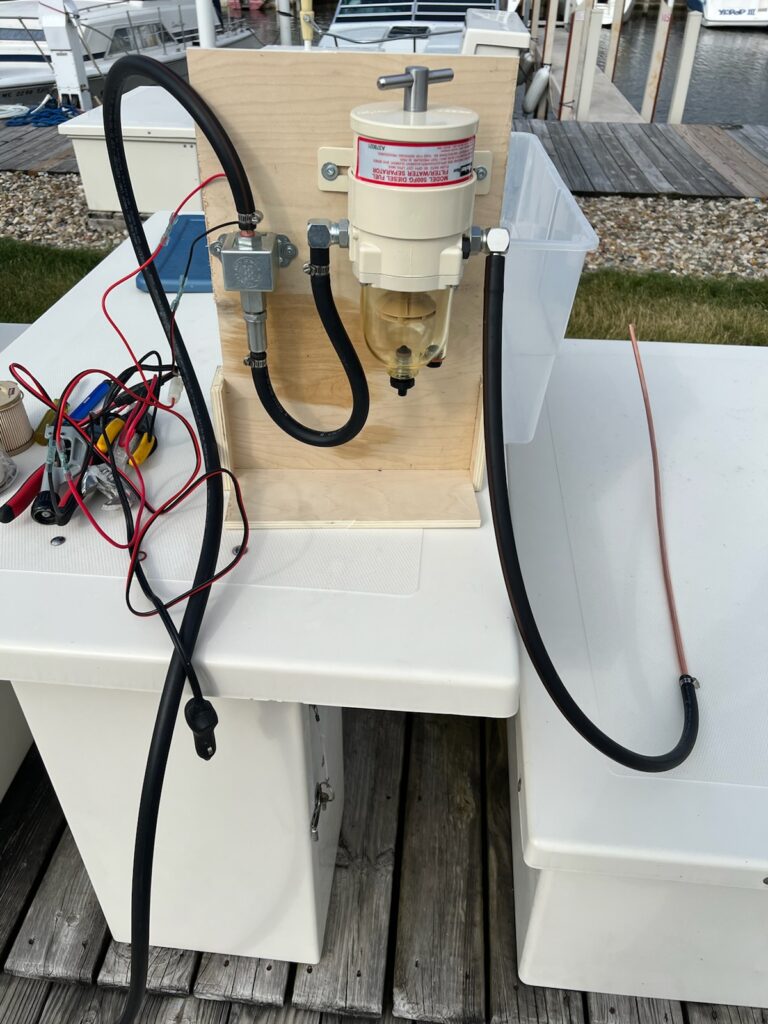
Since we are new boat owners and the “bogging” issue definitely unsettled me, I wanted to build my own diesel polishing kit to clean the fuel as well. After the fuel filter change, I built a portable 12v diesel fuel filter / pump kit. Because water is heavier than diesel, water in the tank settles on the bottom, so I added a piece of soft copper pipe to be able to reach the bottom of the tank. I ran the remaining 50 gallons of fuel in our system through my filter kit 3 times: first at 30 micron, second at 10 micron and finally with a 2 micron filter. I would pump the fuel out of the tank access port and run through the filter kit, and then back into the deck fill port.
This cycling fuel would not solve issues like a dirty tank. Instead, that would involve removing all the fuel and manually cleaning the tank, which we will tackle when the boat is not in the water at a later date.
The fuel polishing kit is a perfect addition to my repertoire of maintenance items and new tools for our boat. Whenever I buy fuel again, (which may be quite a while since we hope to be sailing more soon!), I can run the new fuel through this filter assembly and ensure that the new fuel is very clean.
Let’s Go Sailing!
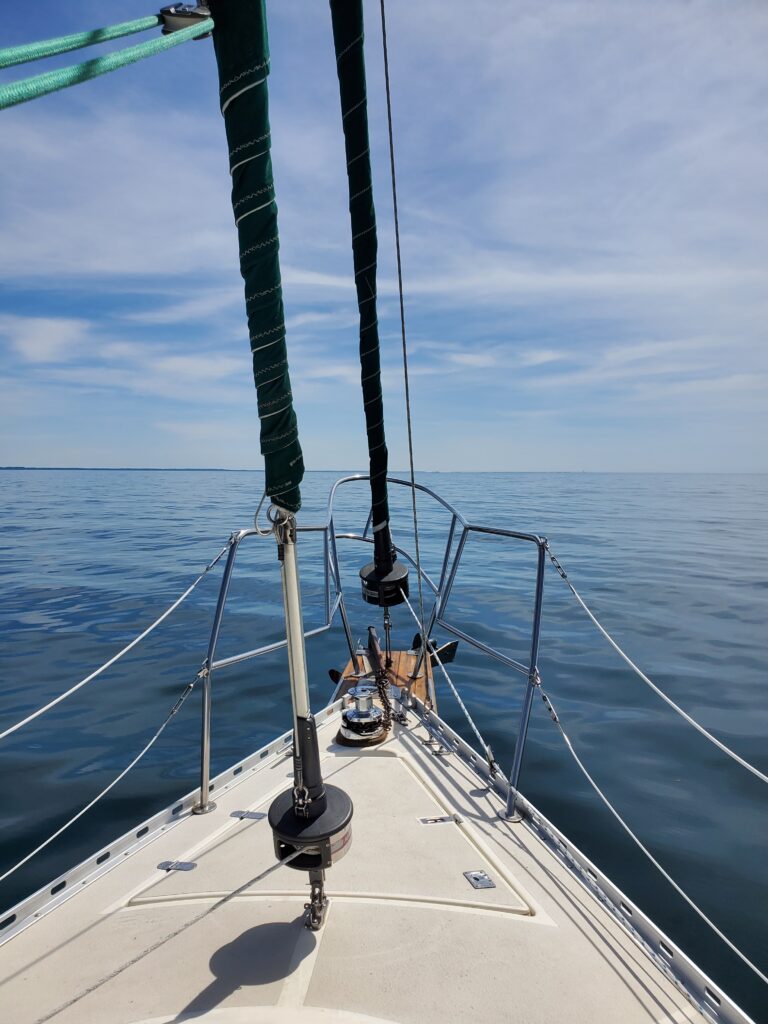
Zeke E Boy is a sailing vessel, meant to sail – not motor around. But our auxiliary diesel engine is a critical component with many maintenance projects that are required to keep us safe and operational on the water. We are learning that sailing into a Great Lakes harbor is difficult to say the least, so being confident to drop sail and motor in is essential.

Tell Us what you think
Please leave comments on your thoughts / recommendations / improvements to our current fuel filter maintenance process. There is always room to grow and learn, and we’d love to hear from you!
Did it work?!?
Wait, I forgot to tell you. After all this work, did the engine start? YES! She jumped to life immediately – as requested when we started her up and I have not heard or felt a hiccup from the engine since. Zeke E Boy is just purring along beautifully!
– Kyle from Zeke Life
Live like Zeke
You’re such a good boy!
Great story! Lots of good and helpful information. Would you be willing to share more on your fuel polishing set-up, like what components you used, where you bought them and how you built the kit? Lastly, would you do anything different if you were to do it again?
Thanks for the comment, Scott! Yes, we’ll be putting together a pieces and parts checklist to share and step-by-step guide. One thing that I would add to the kit in the future is an on/off switch instead of just plugging it in.